Creating a stunning driftwood wall display is a fantastic way to bring the natural beauty of the outdoors into your home. In this DIY guide, we’ll walk you through the steps to craft a unique and eye-catching display using driftwood and reclaimed wood. First, we’ll explore the best places to source your materials, from beachcombing for driftwood to finding reclaimed wood at local salvage yards.
Next, we’ll dive into the creative process of arranging and designing your pieces. By thoughtfully selecting and positioning your driftwood and reclaimed wood, you can achieve a balanced and aesthetically pleasing layout. We’ll provide tips on how to clean and prepare the wood, ensuring each piece retains its natural charm while being ready for assembly.
Finally, we’ll guide you through the steps to assemble and attach your driftwood display to the wall. By using the wood in a linear pattern, you’ll achieve a look reminiscent of a rustic fence or decorative wall detail. Whether you’re a seasoned DIY enthusiast or a beginner looking for a new project, this guide will help you create a one-of-a-kind piece that adds character and charm to any room.
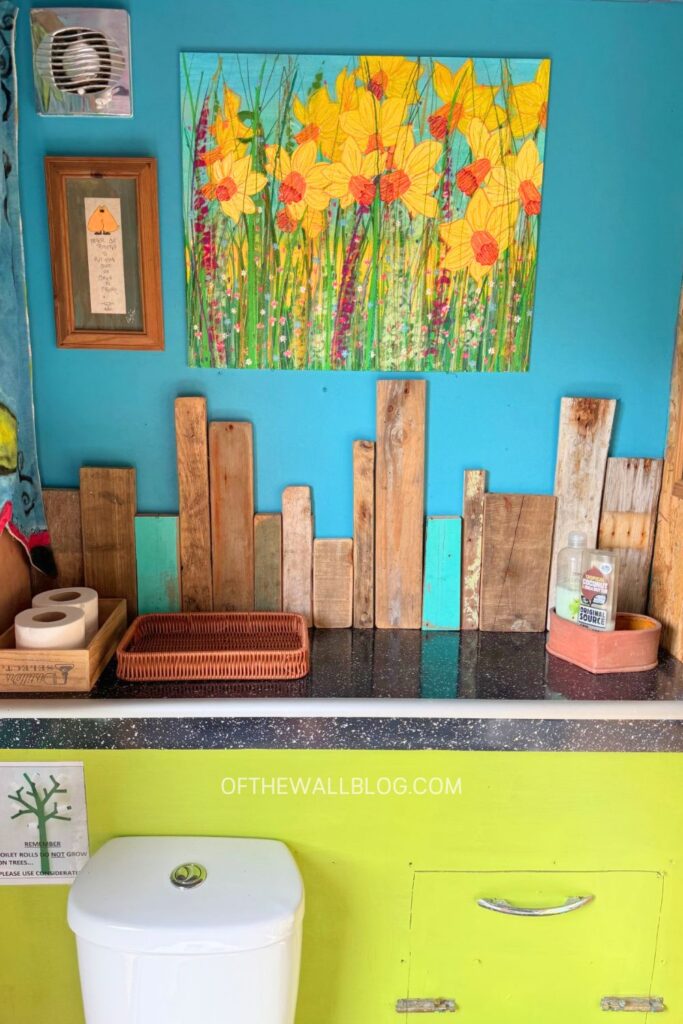
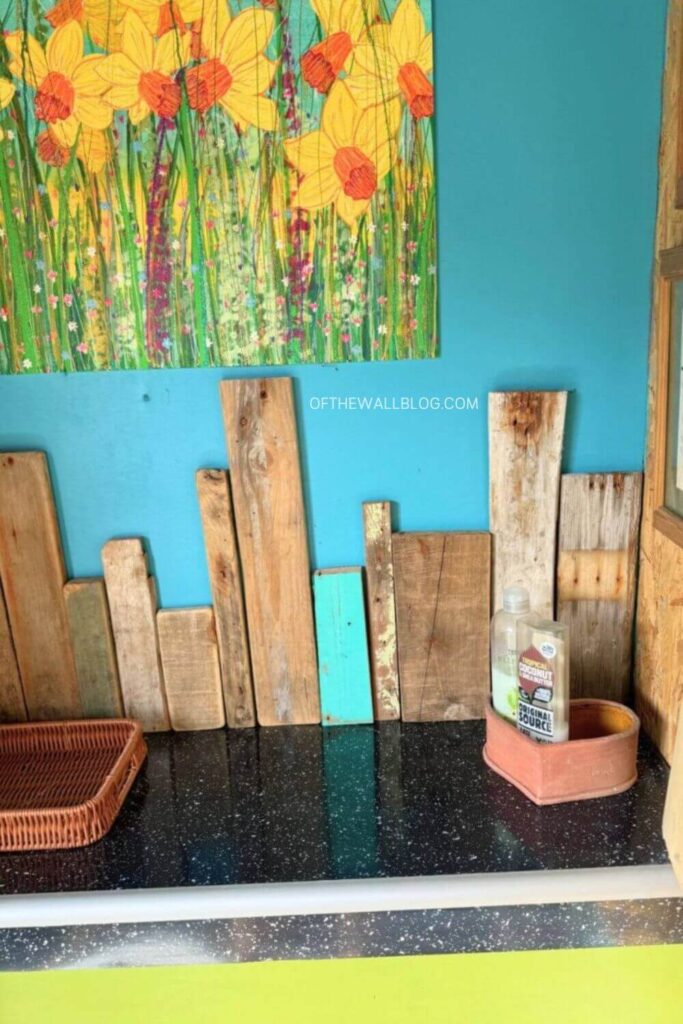
For this project, we designed a driftwood wall display for our outdoor bathroom, a space where we love to experiment with unique and quirky design ideas. Being located by the coast, this driftwood design feels particularly fitting and brings a touch of the seaside into the space. This idea is perfect for budget-friendly DIY projects and offers a creative way to reuse and repurpose scrap wood or driftwood found along the shore. Not only does it add character and charm, but it also promotes sustainable living by making use of natural, reclaimed materials.
1. Ideas where to implement this design
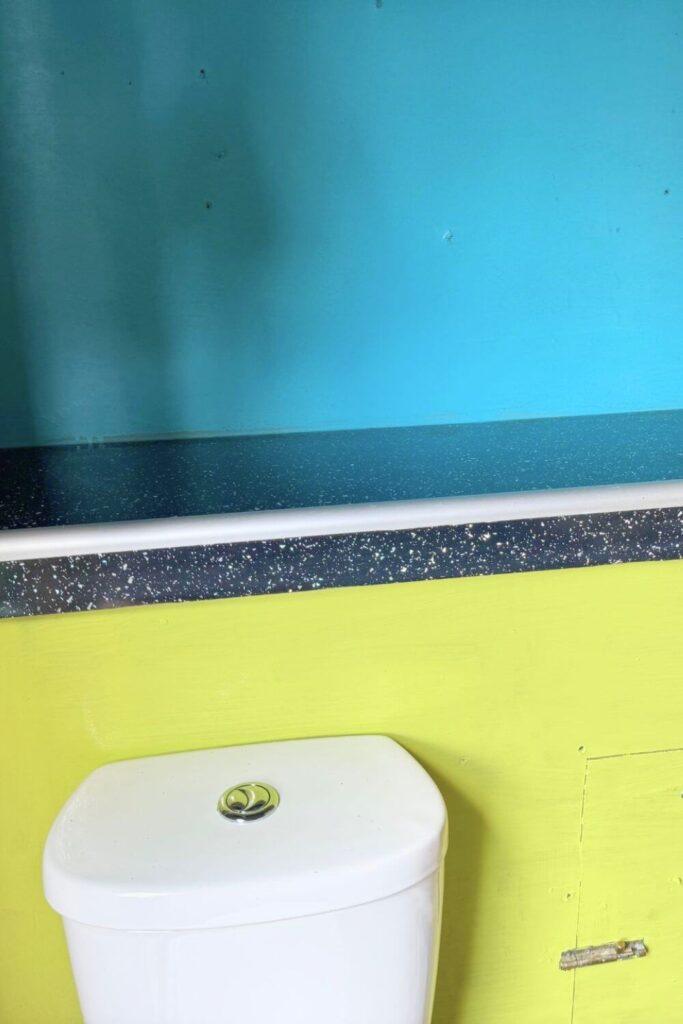
This design can be applied anywhere in your home or outdoor area. A bathroom is a great choice, and the kitchen works well too. We placed ours above the toilet tank on a flat ledge, which framed the area nicely. This design could also serve as a unique alternative to a skirting board along the bathroom floor or as a backsplash behind the sink. Shelves are another option. There are many ways to implement this design—find a spot that you think suits it best.
2. Where to source wood
Finding the right materials for your DIY driftwood wall display can be an adventure in itself. Here are a few great places to source scrap wood and driftwood:
- Beaches and Riverbanks: Driftwood is commonly found along coastlines and riverbanks. Spend some time exploring these areas, especially after a storm, as strong tides and currents often bring in new pieces of wood.
- Local Salvage Yards: Salvage yards are treasure troves for reclaimed wood. You can find a variety of wood types and sizes, often at a fraction of the cost of new materials. These yards typically have wood from old buildings, barns, and other structures.
- Construction Sites: Contact local construction companies or visit sites where remodeling or demolition is taking place. Contractors often have scrap wood that they’re willing to give away or sell for a minimal fee.
- Furniture Makers and Woodshops: Woodworking shops and furniture makers frequently have offcuts and scraps that are perfect for DIY projects. These pieces are often high-quality wood that’s been discarded due to size or shape.
- Online Marketplaces: Websites like Craigslist, Facebook Marketplace, and Freecycle often have listings for free or inexpensive scrap wood and driftwood. Check these platforms regularly, as new items are posted frequently.
- Community Clean-Up Events: Participate in local beach or river clean-up events. Not only will you help the environment, but you might also find some interesting pieces of driftwood to use in your project.
3. Treating the wood
Treating driftwood and scrap wood can enhance their durability and appearance, but it’s not always necessary. Whether you treat the wood depends on where it came from and where you plan to use it.
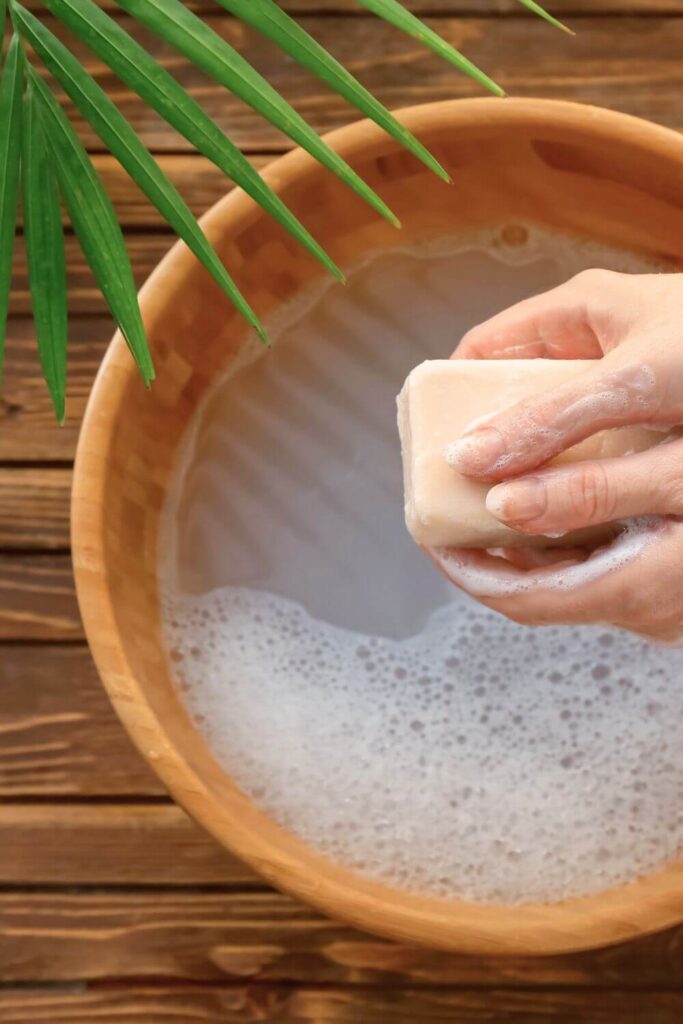
How to Treat Driftwood and Scrap Wood:
- Cleaning: Start by thoroughly cleaning the wood. Remove any dirt, sand, or debris using a stiff brush. For driftwood, soak it in a mixture of water and white vinegar for a few hours to remove mold or germs.
- Drying: Let the wood dry completely. This can take several days or even weeks, depending on the size and moisture content. Place it in a well-ventilated area, ideally in the sun.
- Sanding: Sand the wood to remove rough edges and splinters. Use coarse-grit sandpaper to start, then finish with a finer grit for a smoother surface.
- Sealing: Apply a wood sealer or varnish to protect the wood from moisture and decay, especially if it will be used in a damp environment like a bathroom. Clear polyurethane, tung oil, or linseed oil are good options. Apply several coats, allowing each to dry fully.
When Treatment is Optional:
If the wood will be used in a dry, indoor area and has a naturally appealing look, you might choose to leave it untreated. This can preserve its rustic charm and texture. However, consider the following factors:
- Source of the Wood: If the driftwood was found on a beach, it might contain salt, which can attract moisture and cause decay over time. Cleaning and sealing can mitigate this risk. Scrap wood from old furniture or construction might have been treated with chemicals, so it’s safer to seal it.
- Usage Location: In a bathroom or kitchen, where moisture levels are higher, treating the wood can prevent mold and extend its life. In a dry, less-trafficked area, treatment is less crucial.
Ultimately, the decision to treat driftwood and scrap wood depends on your aesthetic preference and the functional requirements of your project. Treating the wood can enhance its longevity and appearance, but leaving it natural can maintain its raw, organic beauty.
4. The layout
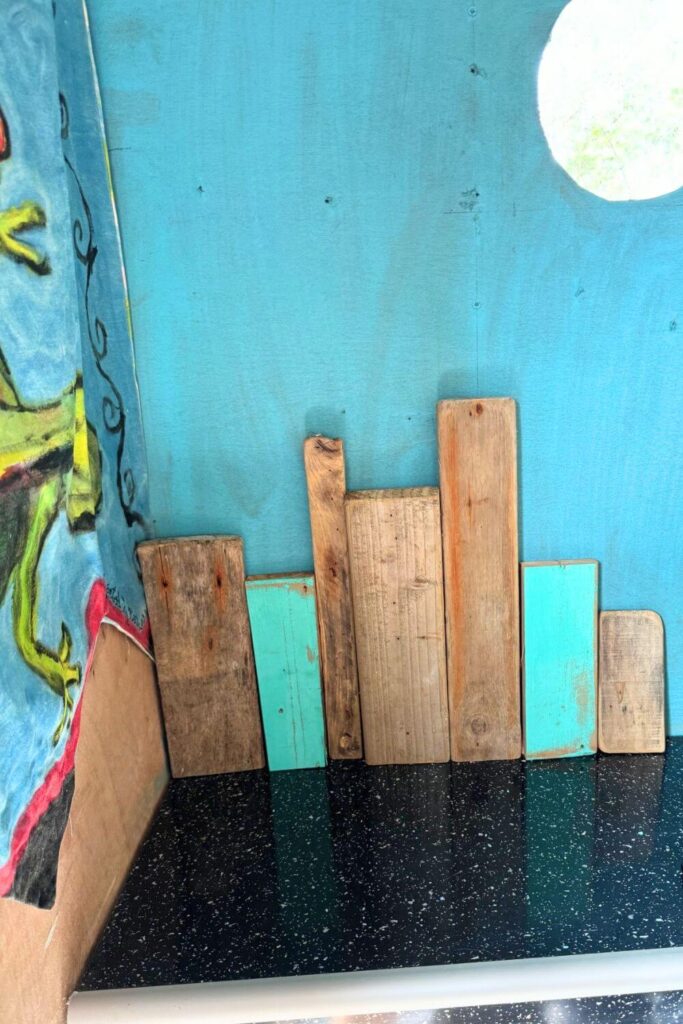
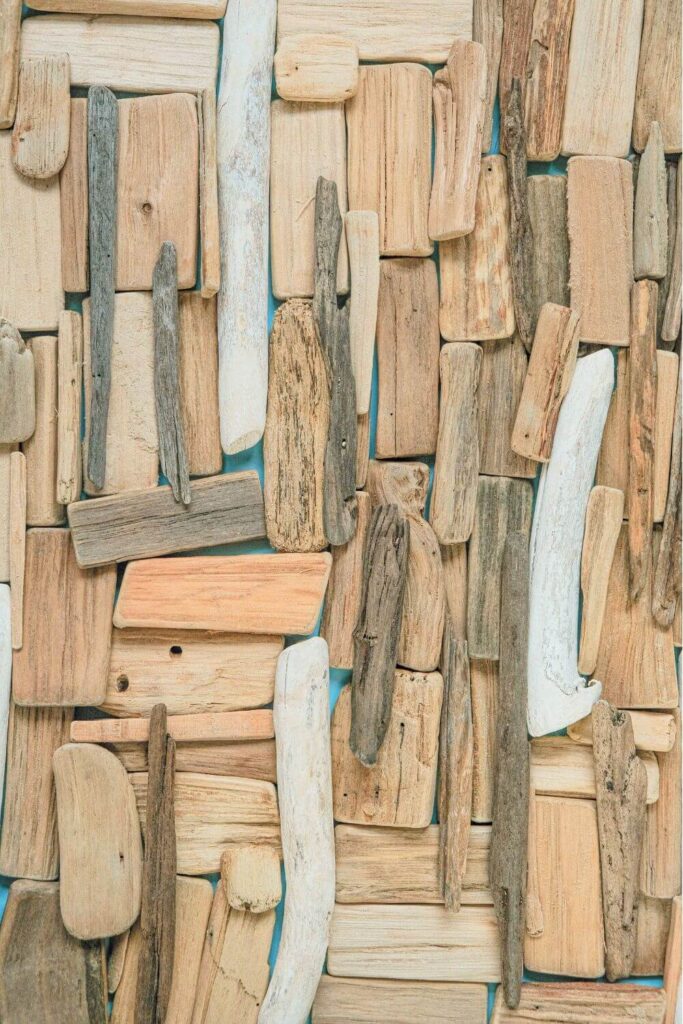
The fun part of this DIY project is that each design is unique and individual. To arrange the design, you’ll need to experiment with the layout until it looks best to you. You can leave the wood pieces in their natural state or cut the bases straight so they lay flat on the surface. For this design, we used an electric wood cutter to achieve flat bases. You can also use a hand saw, a machine, or hire a professional to do this. While perfection isn’t necessary for this rustic design, a neat, straight cut ensures the pieces lay correctly and look pleasing.
When arranging the layout, try different configurations by laying the wood against the chosen wall. Take photos of each arrangement to compare and decide which you like best. Aim for a natural look with mismatched wood pieces of varying heights, textures, and colors. Keep experimenting until it feels right—this is the fun part, as there are endless possibilities with your selected pieces.
5. How to attach wood
There are several ways to attach the wood to the wall, depending on your preference and the wall type. Drilling the pieces to the wall is not recommended, as the wood might be fragile and split, and visible nails or screws can be unsightly. For our project, we used glue, which worked well for our outdoor bathroom. We chose a water-resistant glue with moderate strength, sufficient to hold the light wood in place but not too strong to prevent future removal if needed.
While tapes are another option, we found them less effective. We recommend a low to medium strength glue, considering factors like the wood’s weight, the wall type, the environment (especially if it’s moist, like a bathroom), and how long you want the design to last. It’s a good idea to consult with someone at your local craft, DIY, or home store to find the best attachment method for your specific needs. Each project is unique, so tailor your approach accordingly.
6. Outcome
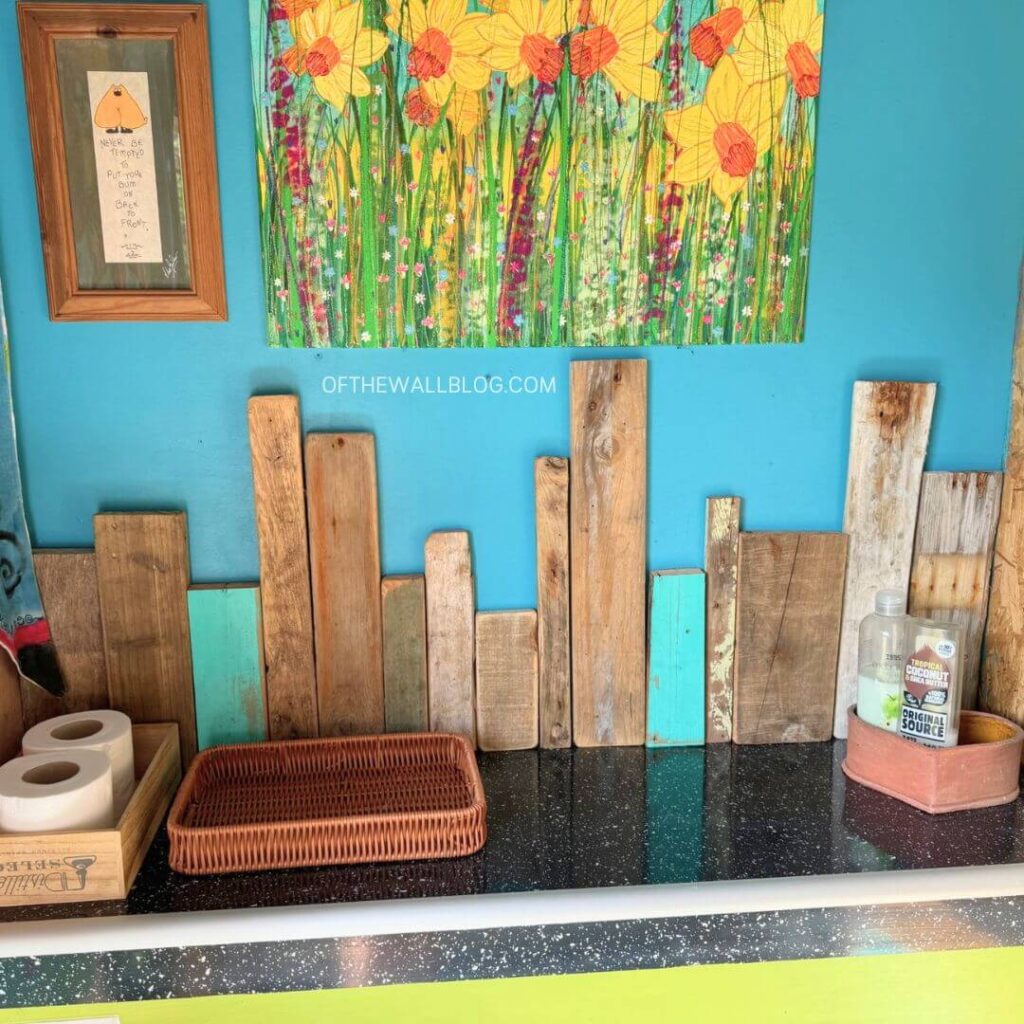
In conclusion, creating a DIY driftwood wall display is a rewarding project that brings a touch of nature and rustic charm into your home. By sourcing driftwood and reclaimed wood from various places and thoughtfully arranging and treating your pieces, you can craft a unique and personal design. Whether you choose to treat the wood or leave it in its natural state, consider the environment and intended use to ensure your display lasts. With countless ways to implement this design, from bathrooms to kitchens and beyond, you can find the perfect spot to showcase your creativity. Embrace the process and enjoy the satisfaction of transforming simple, reclaimed materials into a beautiful, one-of-a-kind decor piece.