In recent years, more people are opting for self-tanning over traditional sun tanning. Not only does self-tanning provide a safer alternative to UV exposure, but it also offers the flexibility to achieve a gorgeous glow year-round. However, a perfect self-tan can only be attained with the right techniques and products. Unlike the patchy or orange results you might fear, mastering the art of self-tanning ensures a natural and stunning look. Many celebrities have perfected this skill, often looking effortlessly bronzed and radiant. In this post, we’ll explore the best tips and tricks—straight from the pros—to help you achieve a flawless, sun-kissed glow. Follow these steps in the order of your self-tanning routine to ensure you look like you’ve just returned from a tropical getaway.

Share the love!
Tip! You can pin any of the following idea images that you love, or inspire you to a relevant board on Pinterest! Simply click on save and pin your favourite idea.
This post contains affiliate links, which means I may receive a small commission if you purchase through them. You will have no extra cost.
1. Exfoliate 24 hours before applying self tan
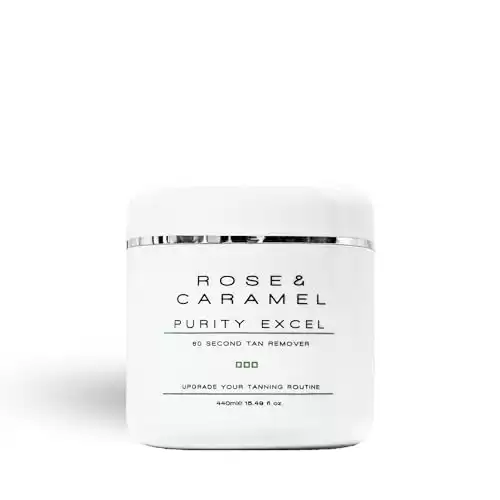
Exfoliating 24 hours before applying self-tanner ensures an even application by removing dead skin cells, which can cause patchiness and streaks. It allows the tanner to absorb uniformly, resulting in a smoother, more natural-looking tan. To remove old fake tan the Rose & Caramel Purity Excel 60 Second Miracle Express Self Tan Remover works wonders!
Shaving tip: Shave 24 hours before applying self-tanner or 8 hours after. Shaving right before can cause an uneven tan and skin irritation.
2. How to avoid tan clogging pores

Shower before applying self-tanner. End with cold water to close pores and prevent dark spots from the tanner settling in hair follicles.
If you don’t like cold showers, gently rub a bag of frozen peas over your legs, where this usually happens.
3. Choose the right color for your skin tone

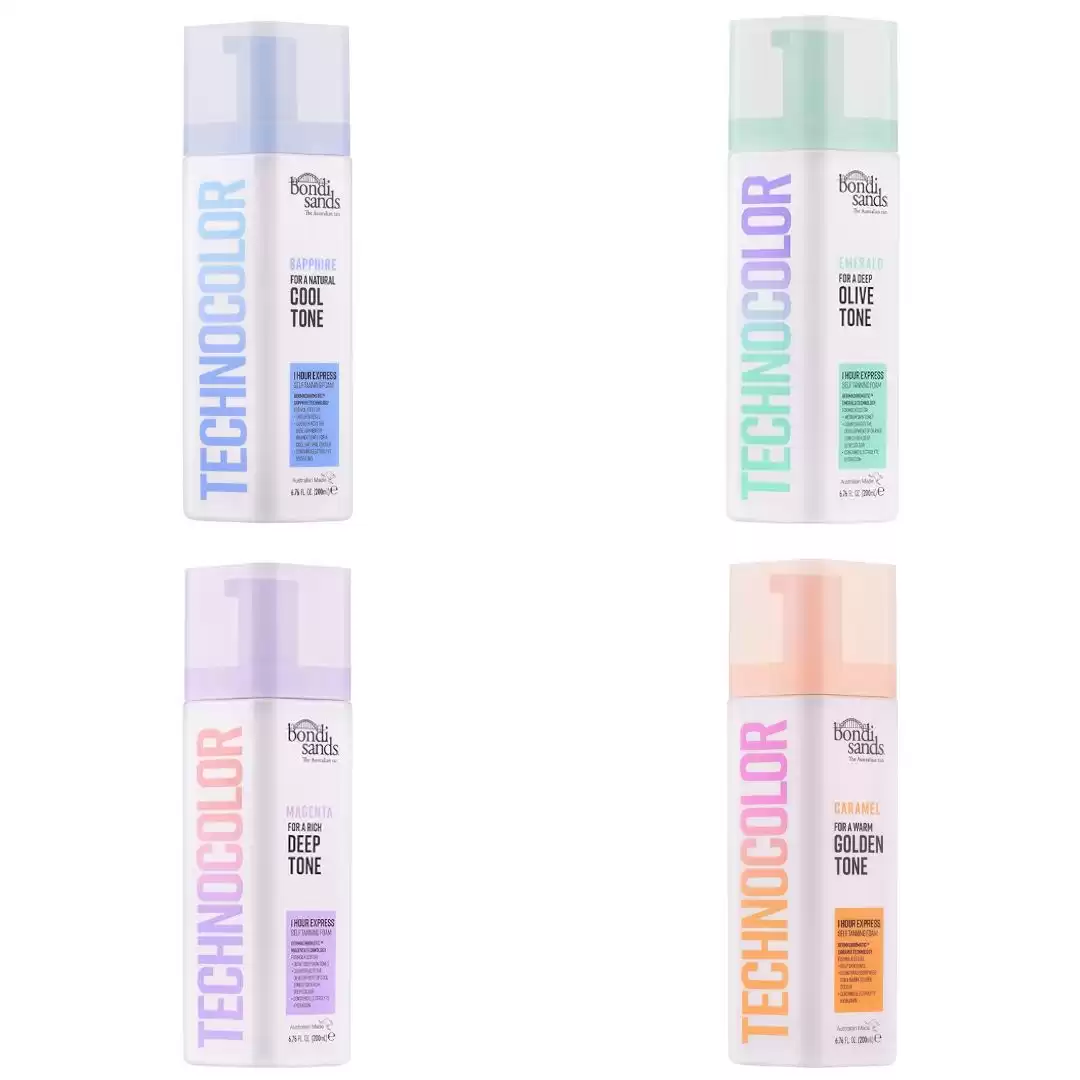
Many people end up looking orange because they don’t realize self-tanners come in various colors suited to different undertones. To get the best results, identify your skin’s undertone—cool, warm, neutral, or deep mix. Most tanners are orange or green-based, with some red tones, which can clash if mismatched. Bondi Sands Technocolor is highly recommended for its shade range tailored to different skin tones.
4. Use a barrier cream
Apply moisturizer to dry areas like knees, elbows, hands, feet, and ankles before using self-tanner. These spots can absorb more tanner and appear darker, creating an unnatural looking tan. Moisturizer helps these areas absorb less tanner, resulting in a more natural look.
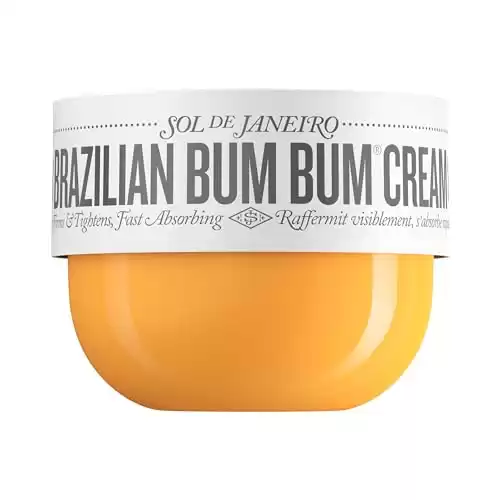
Some moisturizers, like water-based or heavily oil-based ones, don’t work well. A cream moisturizer with a balanced mix of oil, water, and ingredients is best. Highly recommended: SOL DE JANEIRO Brazilian Bum Bum Cream for an even, natural self-tan, especially for your hands.
5. Use latex gloves instead of a mitt
Trust me! This is a game changer for self tanning. Using latex gloves is so much better, try it and you will see. The glove method provides a more even application, doesn’t waste product like a mitt, allows you to use both hands, and speeds up the tanning application process.
6. The hands!
The hands are often the area most people go wrong with self tanner. To achieve natural-looking hands, follow these steps:
- Apply a barrier cream, like SOL DE JANEIRO Brazilian Bum Bum Cream, to your hands and wrists to prevent over-darkening.
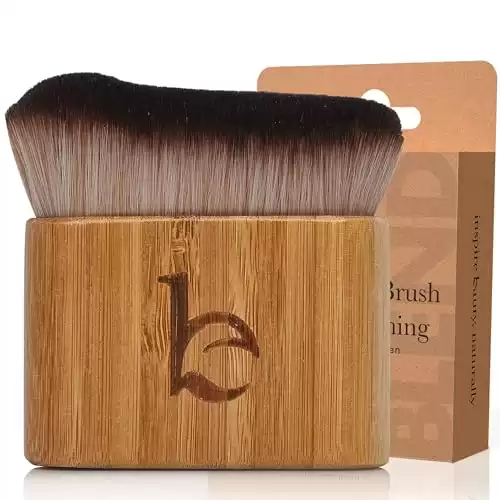
- Use a makeup brush to apply a small amount of self-tanner to the back of your hand. Start with a little; you can add more if needed.
- Spread the tanner gently from the back of your hand to your fingertips. Make a claw with your hand to get into the creases for even coverage.
- Blend the tanner into your wrists and arms.
- Rub your hands together to evenly distribute the barrier cream and tanner.
- Lastly use a towel only on the palms to remove excess product, rub palms on the towel and maybe fingertips too.
Hands need careful application, so take your time. With practice, you’ll learn the best method for your skin.
7. Wear an oversized tee

Wearing an oversized tee while your fake tan is developing prevents the tanner from rubbing off on tight clothing, ensuring an even tan. It also allows your skin to breathe, helping the tan develop smoothly and without streaks.
8. Developing the tan
Follow your tanning product’s instructions for washing it off. Most self-tanners take 24 hours to fully develop, though you’ll see some color in a few hours. When rinsing off, use only lukewarm water and avoid soap for the best results.
9. Maintenance
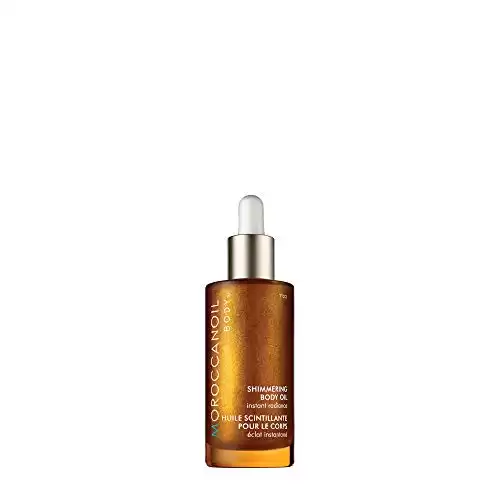
A fake tan typically lasts between 5 to 7 days. While it can occasionally last longer, I recommend exfoliating and reapplying once the tan starts to fade and look dull. To maintain a fresh and glowing appearance, keep your skin moisturized. After swimming in the sea or a chlorine pool, rinse off with fresh water and reapply moisturizer. For added enhancement and longevity, use a body oil like Moroccanoil Shimmering Body Oil.
10. What about the face?
Here are a few options for tanning your face:
- Use Body Tanner Sparingly: Apply your usual body tanner sparingly on the face. To ensure even application and avoid overdevelopment or clogged pores, first apply a face moisturizer. Then, use a makeup brush to apply the tanner.
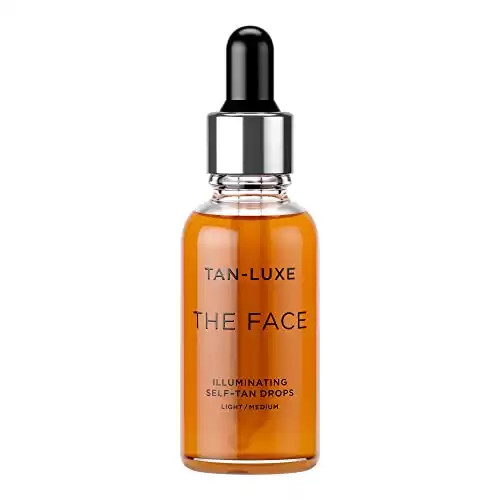
- Face-Specific Self-Tanner: Opt for a self-tanner specifically designed for the face. Follow the product instructions, either mixing it with your moisturizer or applying it with a brush. Highly recommend TAN-LUXE Face Illuminating Self-Tan Drops.
- Skip Tanning the Face: If you are acne-prone, consider skipping tanning the face altogether. Instead, use a high-quality bronzer, tinted sunscreen, or foundation to add color and blend your face with your body tan. Many people who choose this method tan up to the neck, along the jawline, and then use makeup to complete their look.

